
To dress a kimono, work outward in six steps: tabi socks, then the susoyoke slip and hadajuban camisole, then the nagajuban under-robe, then the kimono wrapped left side over right, then a koshihimo sash tied over the navel, and finally the collars set into place. The obi goes on last, once every layer underneath is settled. Two details decide whether the result looks correct: a fist-width gap between the collar and the nape of the neck, and a koshihimo tied firmly enough to carry the whole outfit.
Dressing a kimono does not require a professional dresser. The order is structural rather than ceremonial: every layer holds the one above it in place, so a mistake at the bottom shows at the top.
What You Need to Dress a Kimono
A kimono is an assembled outfit rather than a single garment, and a complete one takes nine pieces. Some are essential, some can be improvised with things you already own, and the list below says which is which.
- Susoyoke 裾除け and hadajuban 肌襦袢: worn over your regular underwear. The susoyoke is a wrap slip for the lower body, the hadajuban a thin camisole for the top. Some women swap the susoyoke for long johns, which can be more comfortable in cold weather. A flattening bra rather than an uplifting one helps, since kimono suits a straight silhouette.
- Nagajuban 長襦袢: a thin silk under-robe cut slightly shorter than the kimono so its sleeves and hem stay hidden. Only a narrow strip of its collar shows at the front, which is why that collar gets so much attention later.
- Erishin 衿芯: a plastic strip that slides into the nagajuban collar to keep it stiff and crease free. Rolled and flattened washi paper works if you do not have one.
- Koshihimo 腰ひも: thin cotton sashes that tie the nagajuban and the kimono closed. Two are the minimum, three are better.
- Date-jime 伊達締め: a wider sash that secures each layer and helps define the cylindrical shape kimono is cut for. Two of these, one over the nagajuban and one over the kimono.
- Obi 帯: the decorative outer belt. Maru and fukuro obi are the formal end, often woven with metallic thread. Nagoya obi were designed for convenience, partly pre-sewn at one end so tying is easier. Hanhaba obi are half width, casual, and need no extra accessories, which makes them the easiest place for a beginner to start.
- Tabi 足袋: split toe ankle socks made for traditional footwear. Traditionally white, though patterned pairs are easy to find now.
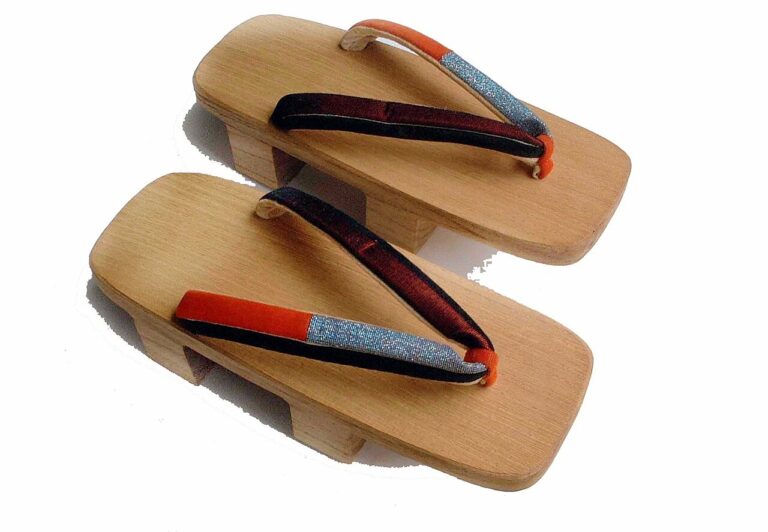
- Zori 草履 or geta 下駄: zori are the flatter, more formal option, while wooden geta make the familiar clip clop sound as you walk. Whichever you pick, never step onto a tatami floor in outdoor shoes.
- The kimono itself: silk, cotton, linen, wool, or polyester. A casual komon with repeating patterns is the easiest place to start. A furisode with its floor length sleeves is the most recognisable silhouette but the least practical thing to learn in.
A korin belt can stand in for the third koshihimo. It clips onto the collar edges and holds them in position, which many people find easier than tying a sash across the chest.
How to Dress a Kimono Step by Step
Assume you are starting in your everyday underwear. Six stages follow, and each one has to be finished and checked before the next begins, because a sash tied over an unsettled layer has to come off again.
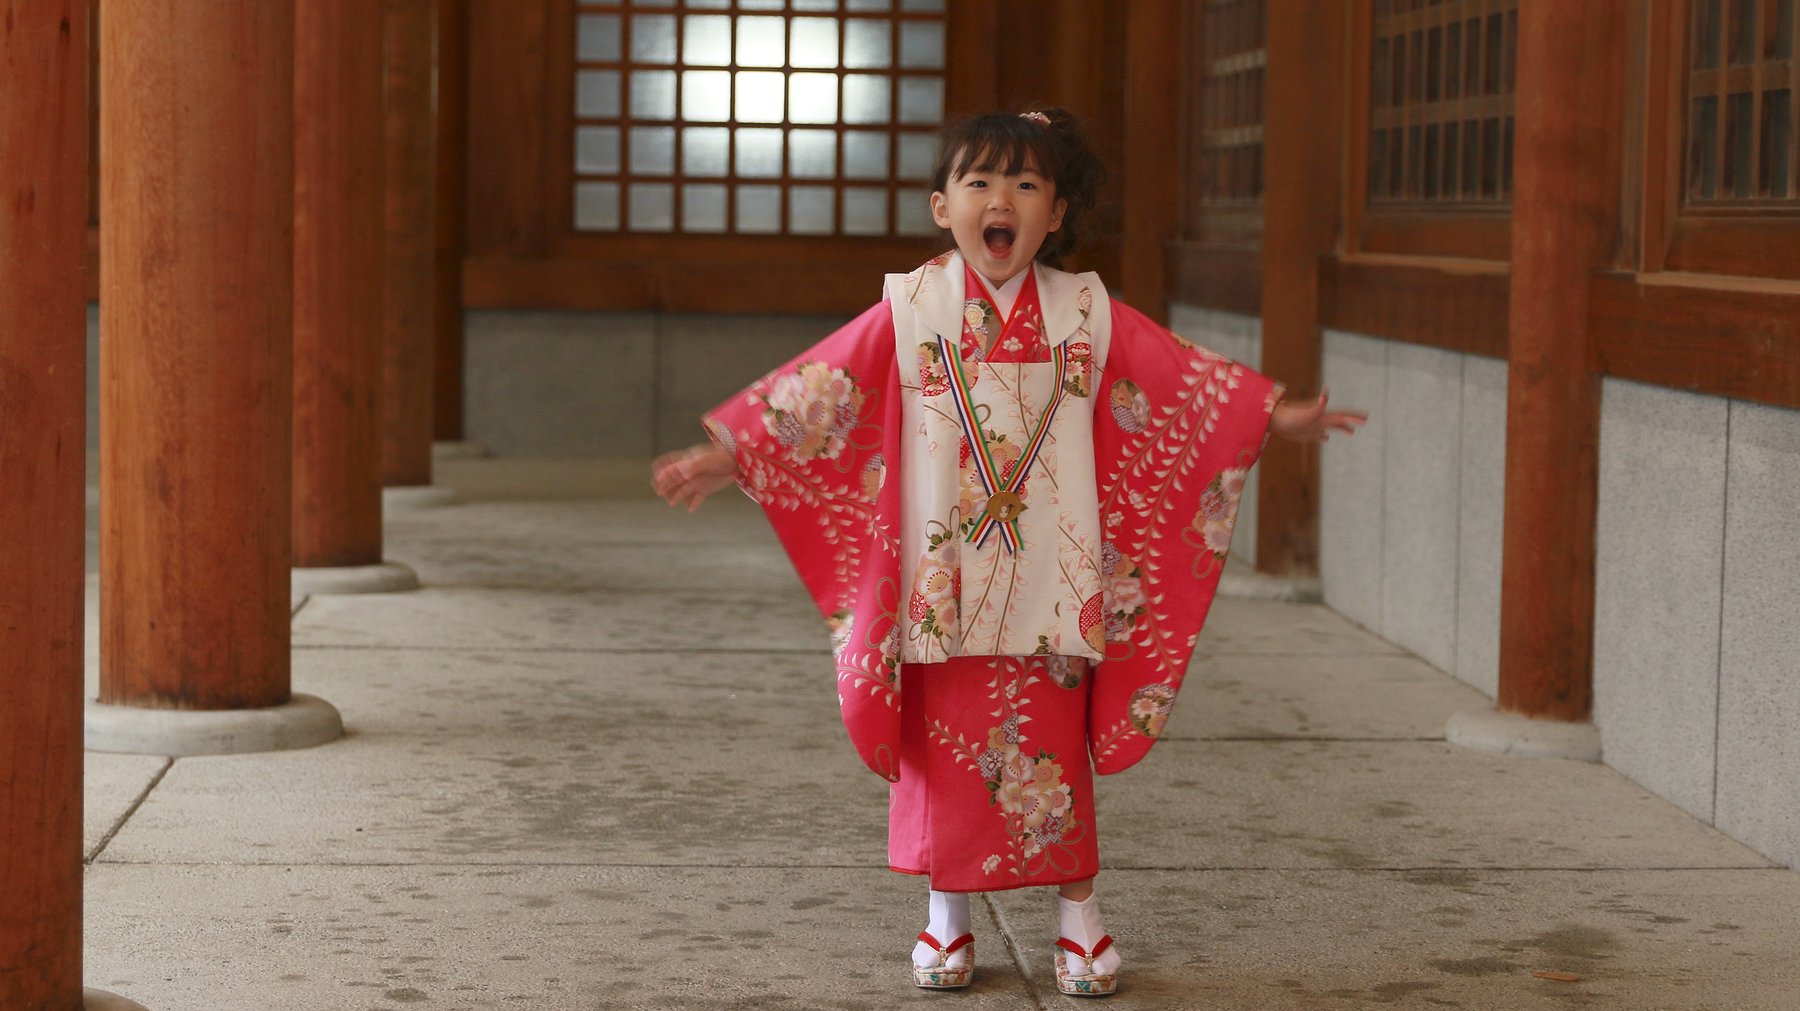
Step 1: Put on the tabi
Socks first, always. Once you are wrapped and tied, bending down to pull on a pair of tabi twists everything you just arranged out of place. It is the step people skip and then regret.
Step 2: Add the susoyoke and hadajuban
Susoyoke first, then the hadajuban over it. Centre the hadajuban on your torso and pull the back hem down slightly to expose the nape of your neck. Do not tuck it into the susoyoke.
Step 3: Put on the nagajuban
Slide the erishin into the collar before you put the nagajuban on. Centre the robe on your body and leave a gap the width of your fist between the collar and the back of your neck. That gap is the shape you are aiming for, not an accident of fit, and it is much harder to create later than now. Tie a koshihimo just below the bust, then tie a date-jime over the top of it to lock the sash down. Push any leftover fabric toward the side seams so the front stays smooth.
Step 4: Wrap the kimono, left over right
Centre the kimono by matching the two lower collar seams to each other at the front. If one sits higher than the other you are off centre. Align the back of the kimono collar with the nagajuban collar so both sit at the same height behind your neck, while the nagajuban still shows by a centimetre or two at the front. A clothespin at the centre back holds both collars while you work.
Now the wrap itself. Grab the kimono on each side a little below the bottom of the collar and lift the hem to just above your feet. Bring the right edge around to your left side first, raised slightly higher than the finished hem line, and hold it there. Then bring the left edge over the top of it. Because the right panel was lifted higher and now sits underneath, it disappears entirely, which is the intended result. The left side goes over the right, without exception. The reverse wrap is used only to dress the dead, and it is the one mistake nobody overlooks.
Step 5: Tie the kimono in place with a koshihimo
Tie the second koshihimo directly over your navel and tie it firmly, because this single sash carries the whole outfit. Tuck the loose ends back into the knot so nothing dangles. All the extra kimono length should now be sitting above the sash, ready to be folded down over it.
Step 6: Arrange the collars
Fold that excess fabric down over the koshihimo to create a flat band across your hips, then set the collars with either the third koshihimo or a korin belt. With a korin belt, clip one end to the right panel through the opening under your left arm, run it around your back, and clip the other end to the left front collar. With a koshihimo, hold the collars symmetrical, put the middle of the sash at the centre of your chest, draw it back with both hands, cross it behind you and bring it forward to tie at the front. Aim for about 2cm of nagajuban collar visible on each side. Finish with the second date-jime just below the bustline and tuck the ends in.
Getting the Collar and the Waist Fold Right
A correct kimono collar, or eri, satisfies three conditions at once: the fist-width gap at the nape survives, the two front collar edges cross symmetrically, and about 2cm of the nagajuban collar shows under the kimono collar on both sides. The waist fold, the ohashori, absorbs the surplus length into a flat band across the hips.
The collar is where a beginner outfit gives itself away, so it earns a separate pass once the sashes are on. A collar pulled tight against the throat reads as wrong even to people who could not explain why.
Excess kimono length is normal and expected, so do not look for a kimono that needs no ohashori. Smooth the band flat, drag any creases around to the side seams rather than trying to flatten them in place, and remember that the obi covers most of it. Pull the whole thing straight in a mirror before you go near the obi, because every adjustment gets harder once that belt is on.
Choosing a Simple Obi Knot
The obi goes on last and gives the outfit its structure. For a first attempt, the bunko musubi, a simple flat bow, is the easiest knot to reach for, though tying it step by step is a hand skill that a written guide cannot fully teach on its own; a kitsuke class or a video tutorial is the fastest way to learn the actual knotting motion. What this guide can cover is what makes any knot look right once it is tied: keep the obi centred on the back, firm enough to hold the kimono but loose enough to breathe, and matched in formality to the garment underneath.
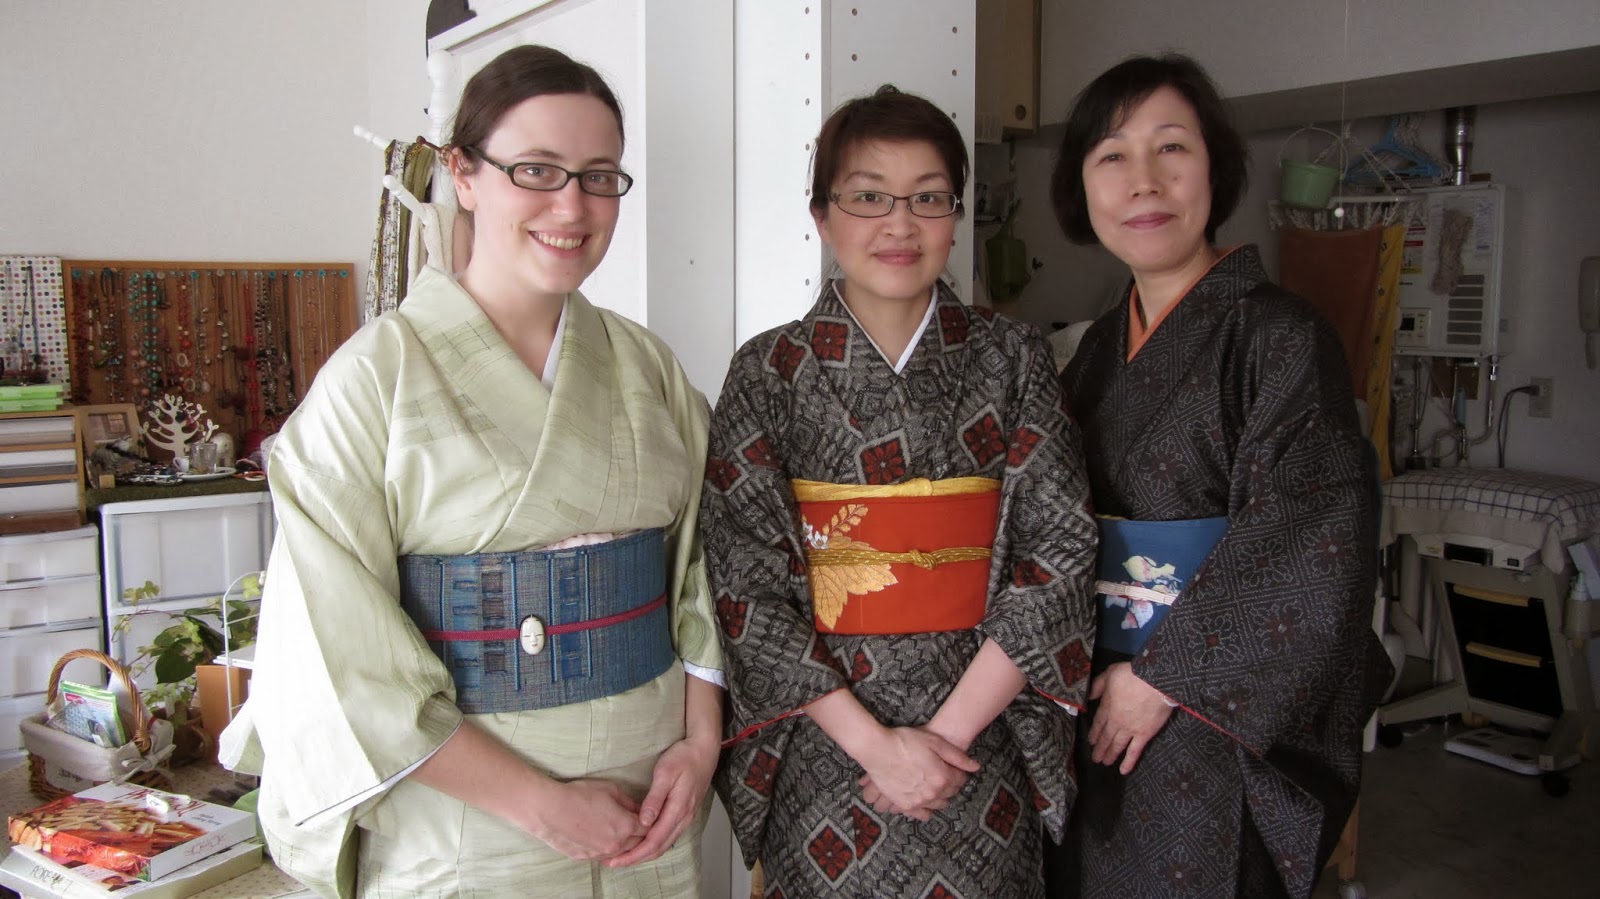
There are dozens of obi tying styles, some genuinely difficult and some manageable on a first attempt, so the number of tutorials online is no measure of how hard the basic ones are.
An obi that slips toward the hips throws the whole proportion off, so check its height in a mirror after every adjustment. Formality has to agree as well: a stiff formal obi on a casual komon looks as mismatched as the reverse.
The Kimono Rules That Actually Matter
Four kimono rules carry real weight: the left panel always crosses over the right, the hem reaches the ankles without touching the ground, the collar opens slightly at the back for women and does not gap at the front, and obi, footwear and bag match the kimono’s level of formality. The rest is proportion rather than protocol.
Only the first of those four has no tolerance at all, since right over left is reserved for funeral rites. The other three are adjustments rather than absolutes: surplus hem length is folded away at the waist instead of left to trail, and formality is a judgement you make about the whole outfit rather than one piece.
Outside Japan the same rules apply and the garment travels well. Kimono are worn worldwide at cultural events, ceremonies, exhibitions and photo sessions, and a carefully adjusted kimono worn with some understanding of what it means is generally read as appreciation. Wearing kimono means carrying a piece of Japanese culture, which is why major museums treat it as dress history rather than costume: the Victoria and Albert Museum’s 2020 exhibition Kimono: Kyoto to Catwalk brought together more than 300 kimono and related garments, according to the museum.
Choosing the Right Kimono for the Occasion
The different types of kimono run from furisode and tomesode at the ceremonial end, through semi formal homongi and single colour iromuji, down to komon for everyday wear. Beginners should start with a komon or a yukata. Sizing is forgiving because kimono are cut straight and adjusted with folds and ties, so aim for a total length close to your own height.
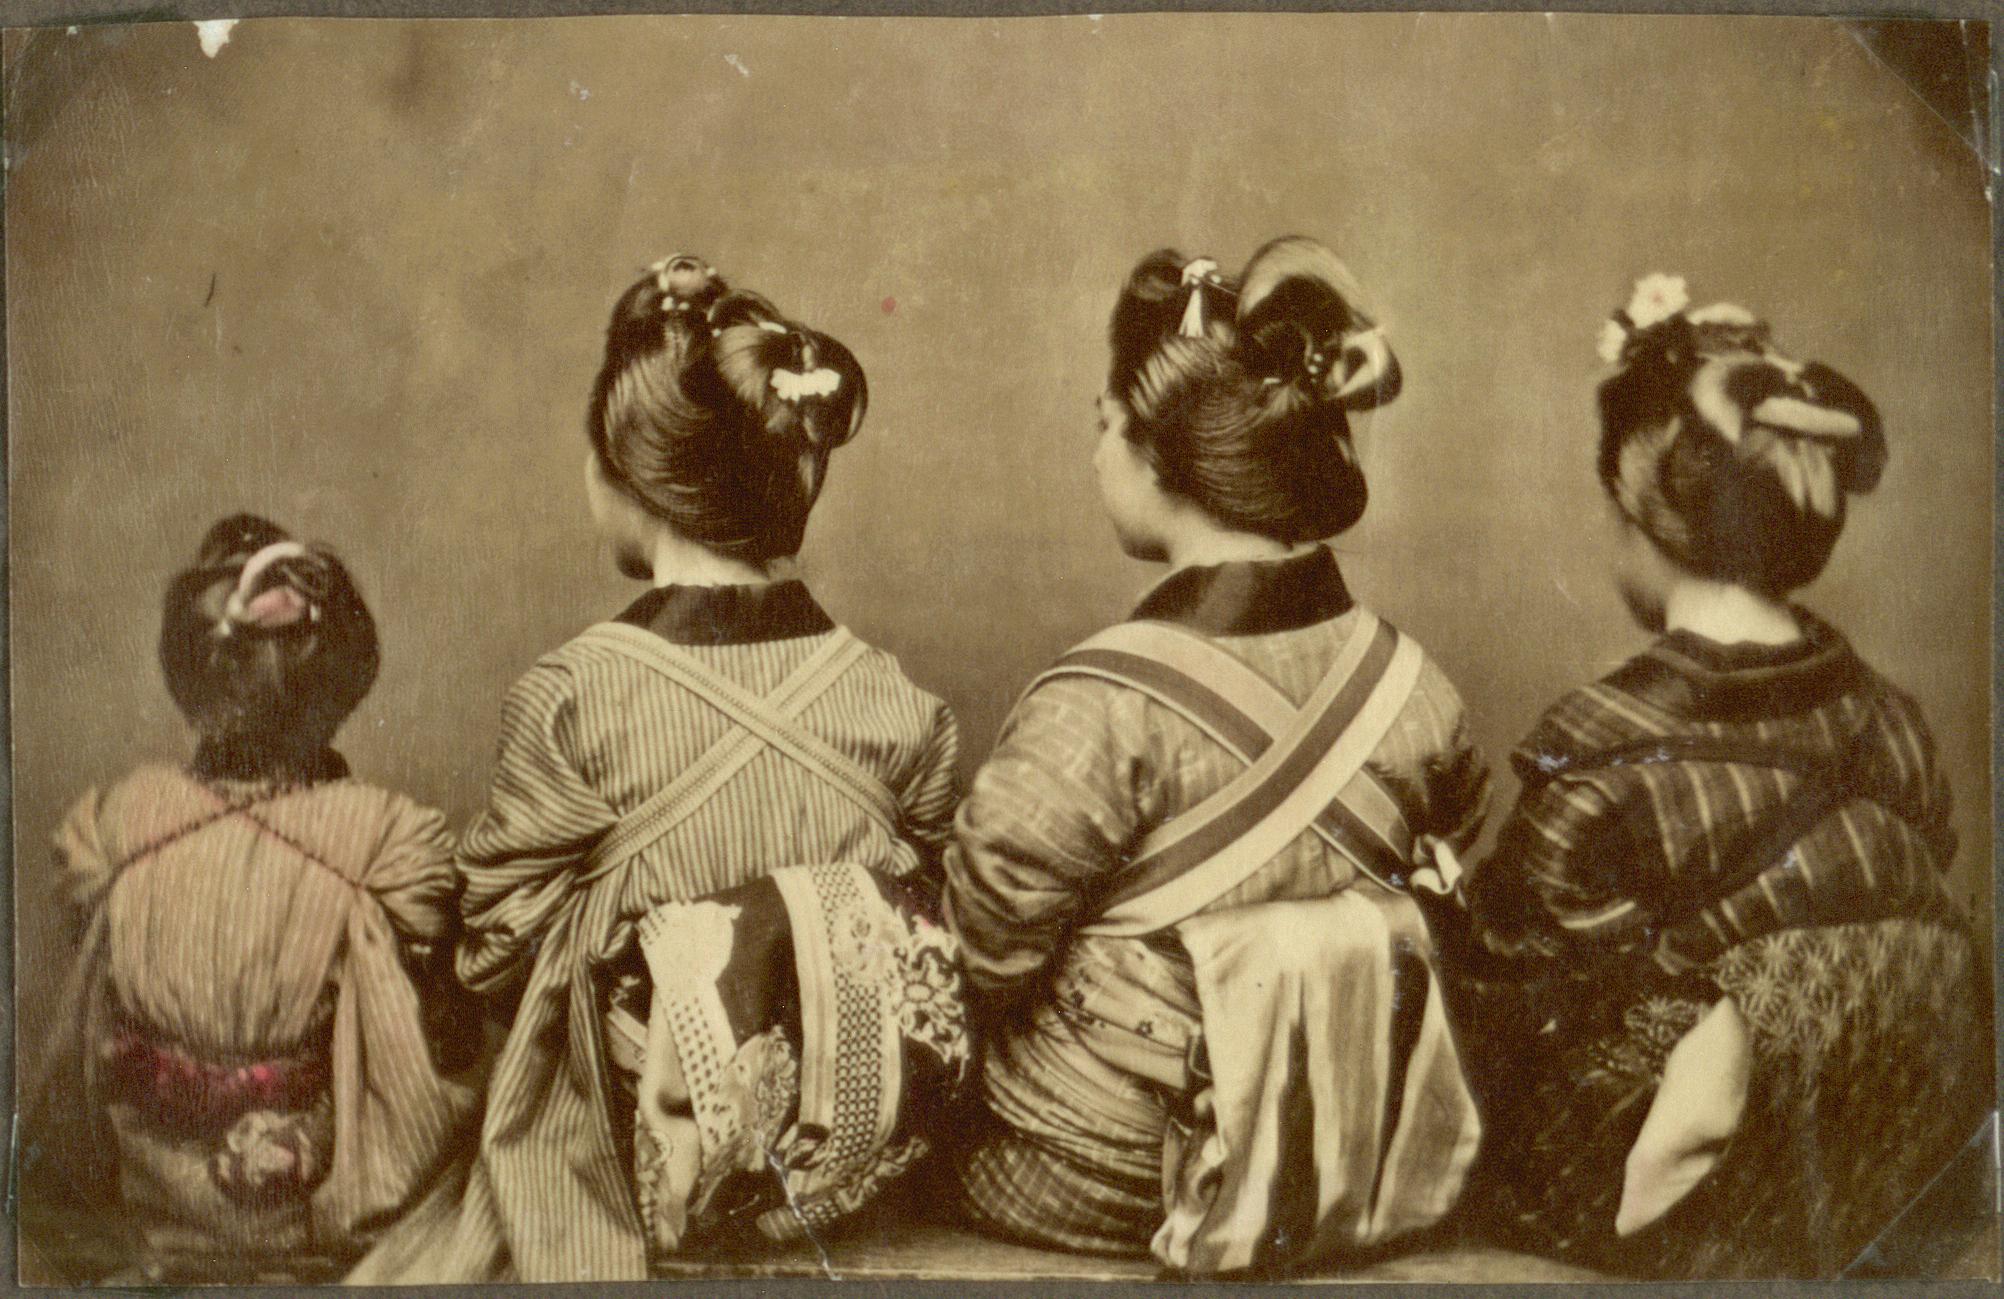
Men’s kimono follow the same logic with fewer variables, since formality there comes mostly from fabric, colour, whether family crests are present, and whether a hakama is worn over the kimono for formal occasions. The practical differences between a yukata and a kimono come down to weight, lining and how many accessories the outfit demands.
On fit, aim for sleeves that fall without restricting your arms and enough width to overlap comfortably across the hips. Caught between two sizes, take the longer one. A kimono that is too short leaves you nothing to work with.
Common Mistakes to Avoid
Nearly every beginner kimono outfit that reads as wrong fails on one of six points, and all six are visible in a mirror before you leave the house. Each one below comes with the reason it shows.
- Wrapping right over left. The single mistake with no margin for error.
- Tying the obi too low on the hips, which flattens the silhouette and makes the outfit look borrowed.
- Pulling the obi so tight that breathing and walking become a project.
- Reaching for a formal kimono for a casual occasion, which reads as trying too hard rather than as elegance.
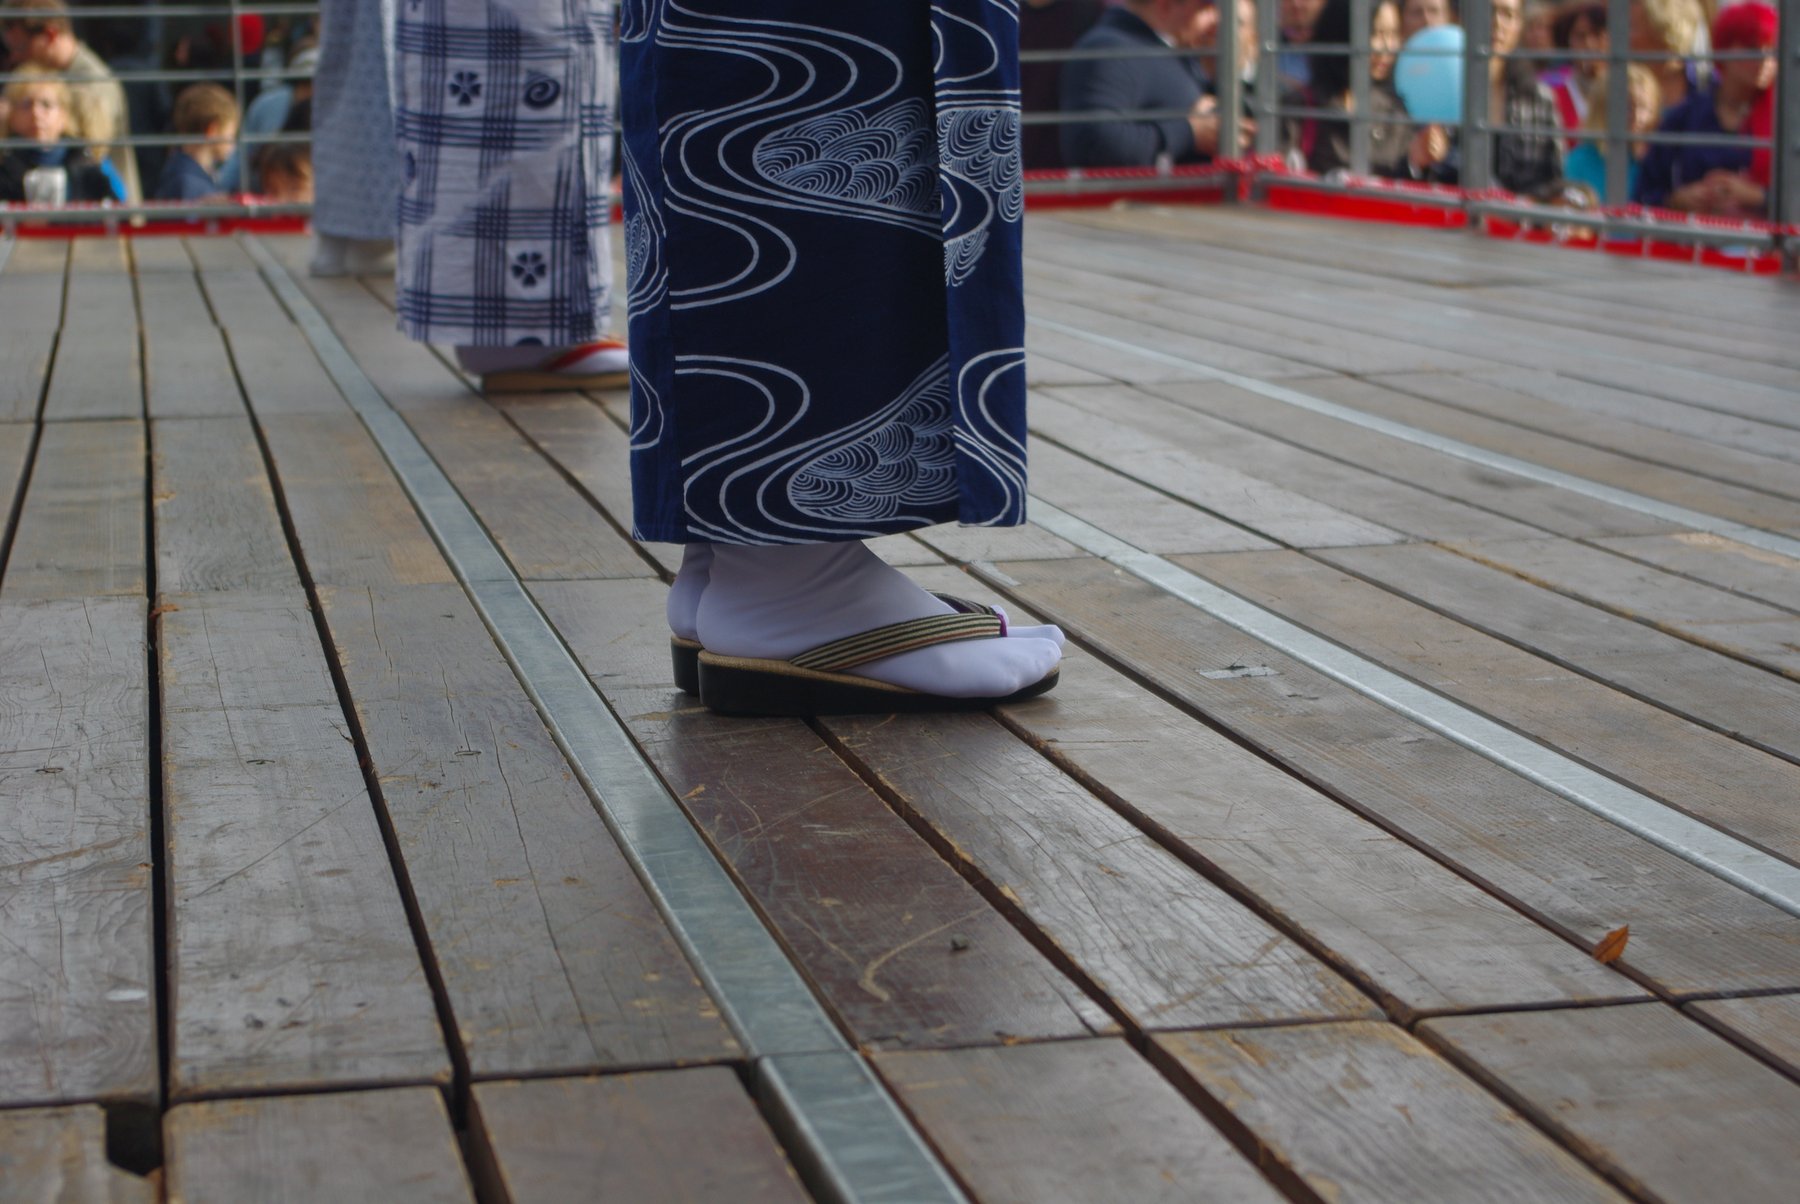
- Ignoring footwear. Everyday shoes under a kimono break the line instantly, and tabi with zori or geta cost very little to get right.
- Piling on accessories before the basics are steady. A simple, well adjusted outfit beats a complex, poorly adjusted one every time.
The first attempt is rarely the good one. The sequence gets faster with repetition, and after a handful of tries the collar and the koshihimo stop being decisions and become habit.
FAQs
How long does it take to dress a kimono?
A first attempt usually takes thirty to forty minutes, mostly spent on the nagajuban collar and the waist fold. With practice the same sequence settles to around fifteen minutes, and the obi is the part that stays slowest.
What do you wear under a kimono?
Two layers sit under the kimono. Closest to the skin are the susoyoke, a wrap slip, and the hadajuban, a thin camisole, worn over your ordinary underwear. Over those goes the nagajuban, a lightweight under-robe whose collar is the only part meant to be visible.
How tight should the koshihimo be tied?
The koshihimo over the kimono should be tied firmly, because it is the sash holding the entire outfit together. The obi is different: firm enough to hold shape, loose enough to breathe and move normally.
Why must the left side go over the right?
Left over right is how the living wear kimono. The opposite overlap is used only when dressing the dead for funeral rites, which is why it is the one detail no one lets slide.
Can a beginner dress a kimono without help?
Yes, particularly in a simpler style such as a komon or a yukata. The basics come together within a few attempts, and a plain kimono that is properly adjusted looks better than an elaborate one that is not.
Kamicrew is a Japanese streetwear label that prints ukiyo-e and yokai artwork on everyday clothing. If a full kimono is more commitment than your week allows, Kamicrew’s ukiyo-e and yokai print shirts carry the same visual language in something you can pull on in ten seconds.
Kamicrew Best Seller

Dont Touch Me Yokai Ukiyo-E Japanese T-Shirt
$25.49+
$29.99
(15% off)


Summer Vibes Salty Kawaii Japanese Hoodie
$44.99+
$49.99
(10% off)


Japanese Pin Horror 80s Retro Aesthetics T-Shirt
$25.49+
$29.99
(15% off)


El Gran Maja Japanese Kaiju T-Shirt
$25.49+
$29.99
(15% off)


Who Wants The Perfect Body Japan Capybara Kawaii Japanese Unisex Shirt
$25.49+
$29.99
(15% off)


Monster 8 Mask Vintage Animal Hoodie
$44.99+
$49.99
(10% off)


I Hate People Japanese Opossum Vintage Animal Hoodie
$44.99+
$49.99
(10% off)


I Got That Dog In Me Small Turtle Vintage Animal T-Shirt
$25.49+
$29.99
(15% off)

The Creation Of Cat Ukiyo-E Japanese T-Shirt
$25.49+
$29.99
(15% off)