
Jirai kei makeup is a Japanese subculture makeup style built to make the wearer look as though they have recently stopped crying. It runs on five steps in a fixed order: a pale base with the texture blurred out, brows kept light and set high above black liner that drops at the outer corner instead of flicking up, a glittering tear bag under each eye, blush pushed high enough on the cheek to touch that glitter, and a soft gradient lip finished with gloss. The face is deliberately left unsculpted.
No individual step is advanced. What trips people up is geometry, because an inch of difference in where the blush and the lower shadow land is what separates the look from ordinary pink eye makeup. The face is also only half of the picture, since the rest of jirai kei, from the Kabukicho nightlife district it grew out of to the fight over what its name implies, changes how the same makeup reads on a person.
What Jirai Kei Makeup Is Trying to Do
Jirai kei makeup aims at a doll-like face carrying visible emotional weight rather than a polished or sculpted one. Three effects do the work: eyes made to look large and deep, a flush suggesting fever or tears, and lips left soft and slightly glossy. Sharp facial structure is avoided on purpose, which is why heavy contouring works against the style.
Colour is the other half of the definition. Jirai kei leans on a darker range than the cute Japanese styles sitting next to it, working through purple, black, dark brown, grey and red, with gradient red lips and darker accents appearing far more often than they would in a sweeter routine. Eye-enlarging lenses and clearly defined tear bags are treated as near-mandatory. The balance it targets is softness and intensity at once, which is why the base stays gentle while the eyes carry all the drama.
What You Need Before You Start Jirai Kei Makeup
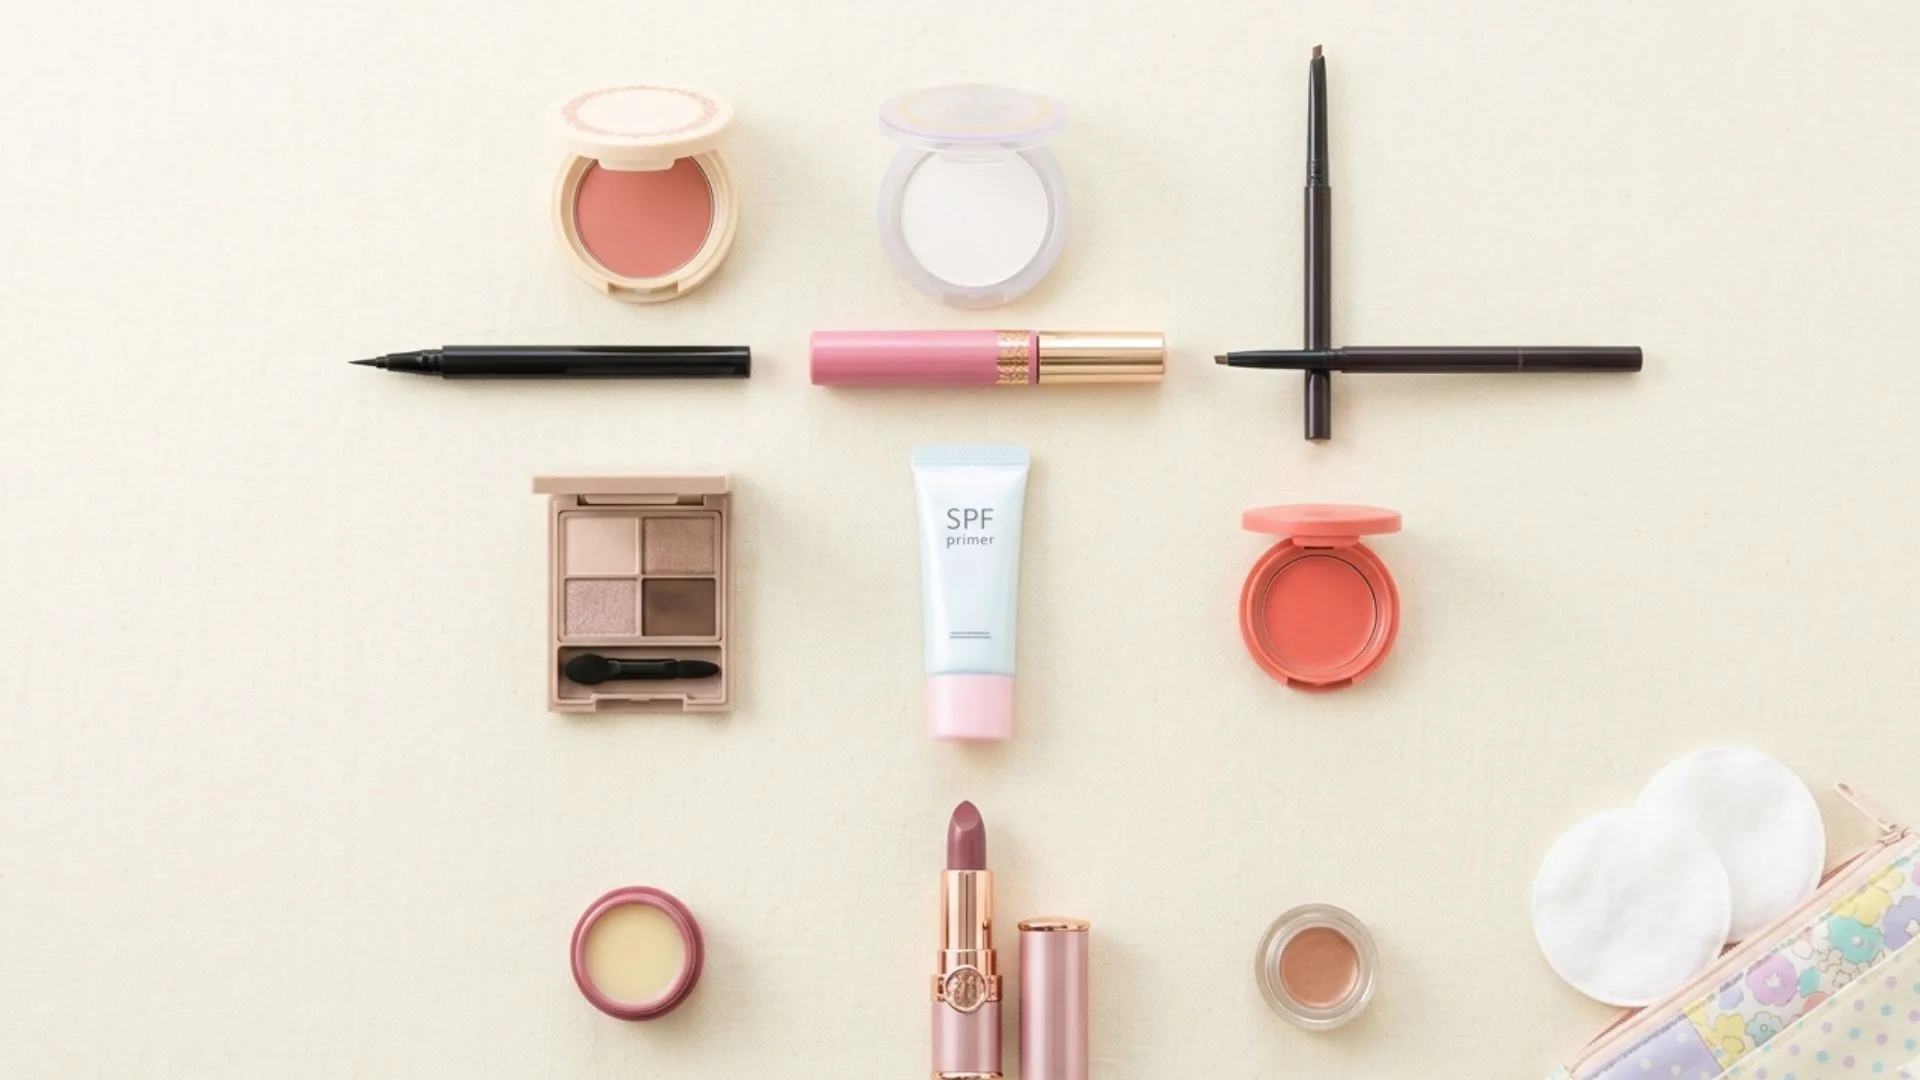
Jirai kei makeup needs more preparation than most looks because pigment, shadow and glitter all sit in the under-eye area for hours. The prep sequence is a moisture-rich toner or lotion, a fast-absorbing gel or cream moisturiser, a pore-smoothing primer for the filtered surface the base needs, and a long-wear eye primer that stops under-eye shadow and glitter from travelling.
If the look is going outdoors, a thin sunscreen that leaves no white cast protects the base without shifting its tone, and some routines let a high SPF gel double as the primer step. For the kit itself, the categories matter more than the labels:
- A fine-tip liquid liner in black, since the line has to stay thin and controlled
- Waterproof mascara, plus tweezers for separating lashes afterwards
- A palette holding a light shimmering white and a pale, cool-leaning brown
- Fine glitter or a glitter liner, nothing chunky
- A cream blush in pink or berry, and a powder blush to layer over it
- A tinted balm and a clear or barely tinted gloss
- Concealer roughly a shade lighter than the base, and a small round brush for placing it
- An angled brush, the tool that makes tear bags survivable
- Circle lenses, if the enlarged iris is wanted
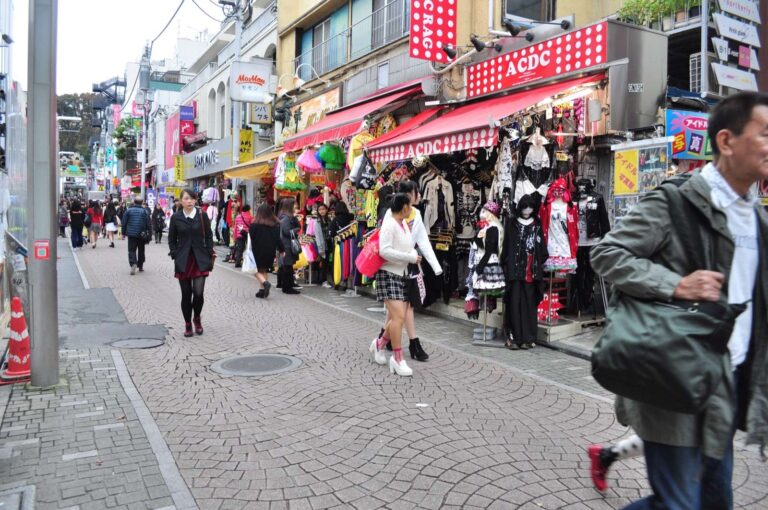
No single brand is required, and published routines converge on ordinary Japanese drugstore lines such as Canmake and Heroine Make alongside one or two department-store palettes rather than on anything exclusive. Circle lenses are the hardest item to improvise. One widely followed routine uses an almond shade at a 14.4mm diameter, and one Harajuku shop that stocks them devotes a whole display to these lenses.
Step 1: The Pale, Soft Focus Base
The jirai kei base is sheer, pale and blurred rather than full coverage. Work outward from the centre of the face with a sheer foundation or a cushion compact, keeping coverage light, and lay a pink-toned colour base underneath so the pallor warms slightly instead of reading grey.
Concealer goes under the eyes, down the sides of the nose and on the chin, blurring dark circles and pores rather than erasing them. Placing it with a small round brush is noticeably more precise than fingers, which matters because the same area receives shadow and glitter later. Seal everything with a micro-fine or marshmallow-finish powder that blurs texture and kills shine while leaving a soft glow, then touch a highlight onto the bridge of the nose and the cupid’s bow. Do not carve out cheekbones at this stage.
Step 2: Brows, Liner and Lashes
Brows and liner set the expression in jirai kei makeup: brows go on light, soft and slightly higher than their natural position, and the liner drops at the outer corner rather than lifting into a wing. That single downward angle produces the soft, pleading look the style is after. Some practitioners remove their natural brows entirely to place them freely, which is the extreme end of the technique rather than a requirement.
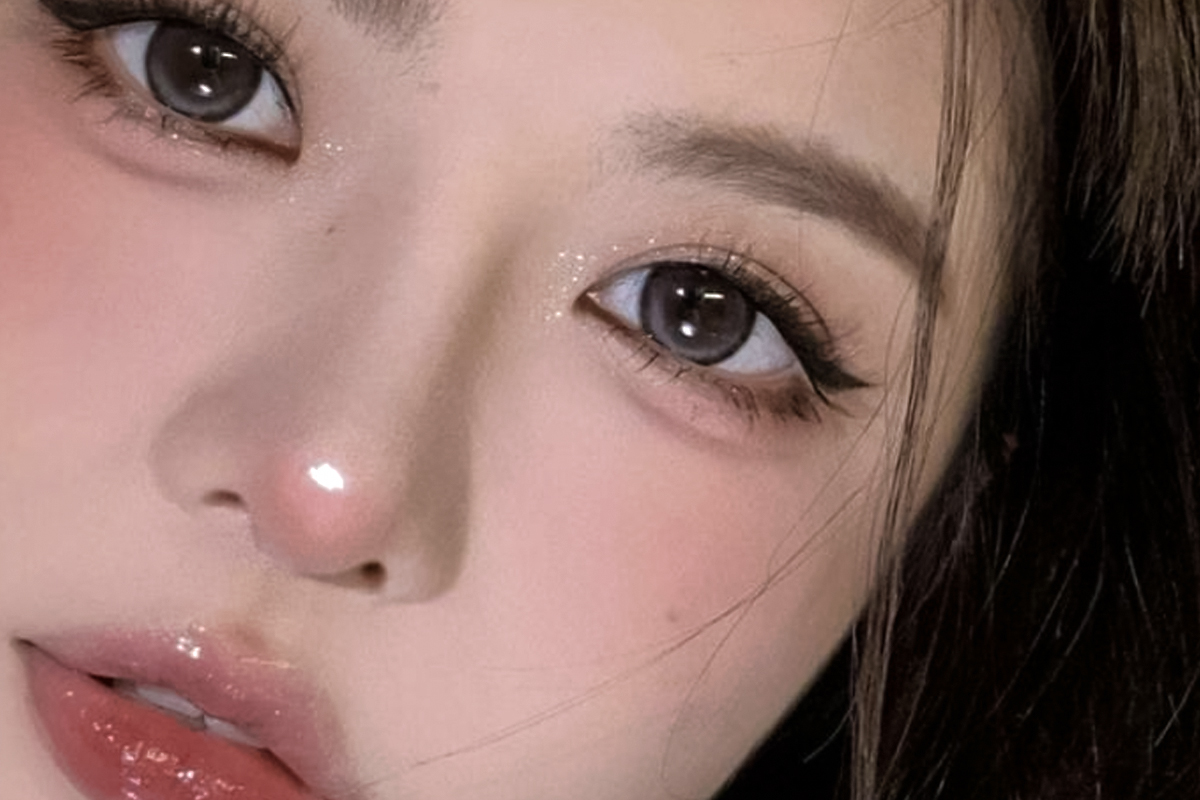
Draw a short line that extends the eye shape and then lets it droop downward at the outer corner. Follow the lower tear line lightly afterwards to define it, keeping that stroke deliberately weak, since a heavy lower line closes the eye rather than enlarging it.
Mascara goes on both upper and lower lashes for the long, doll-like fringe, then comes the step most routines insist on: comb the lashes apart with tweezers so they stay separated. Over-applying is the common failure, because clumped lashes read as heavy rather than delicate. Because so much of this sits against the lash line and inner rim, note that regulators treat the eye area as a special case, and the FDA states that a number of colour additives cleared for cosmetics generally are not approved for use around the eye, alongside its standing advice never to share or swap eye products.
Step 3: Tear Bags and the Namida-me Sparkle
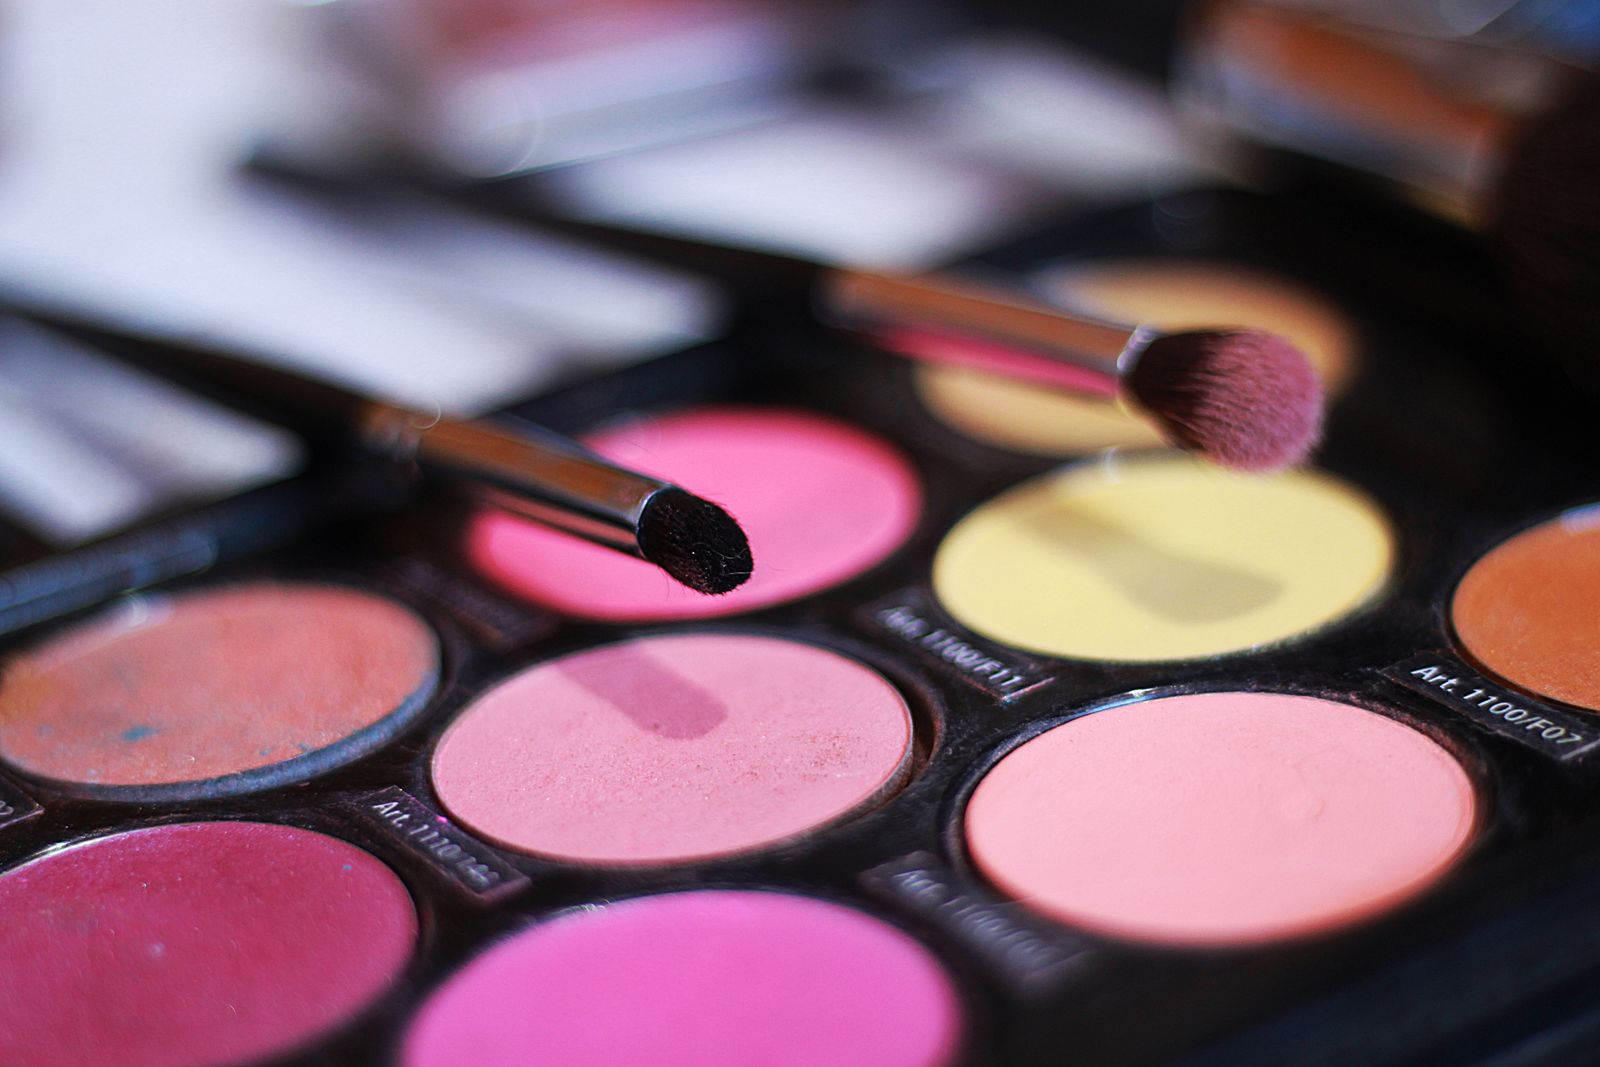
The tear bag is what actually makes a face jirai kei, and the effect has a name: namida-me, the teary-eye look. It is built in layers, not applied in one pass, using a pale brown shadow to shade the tear bag and a fine glitter concentrated under the centre and inner corner of the eye.
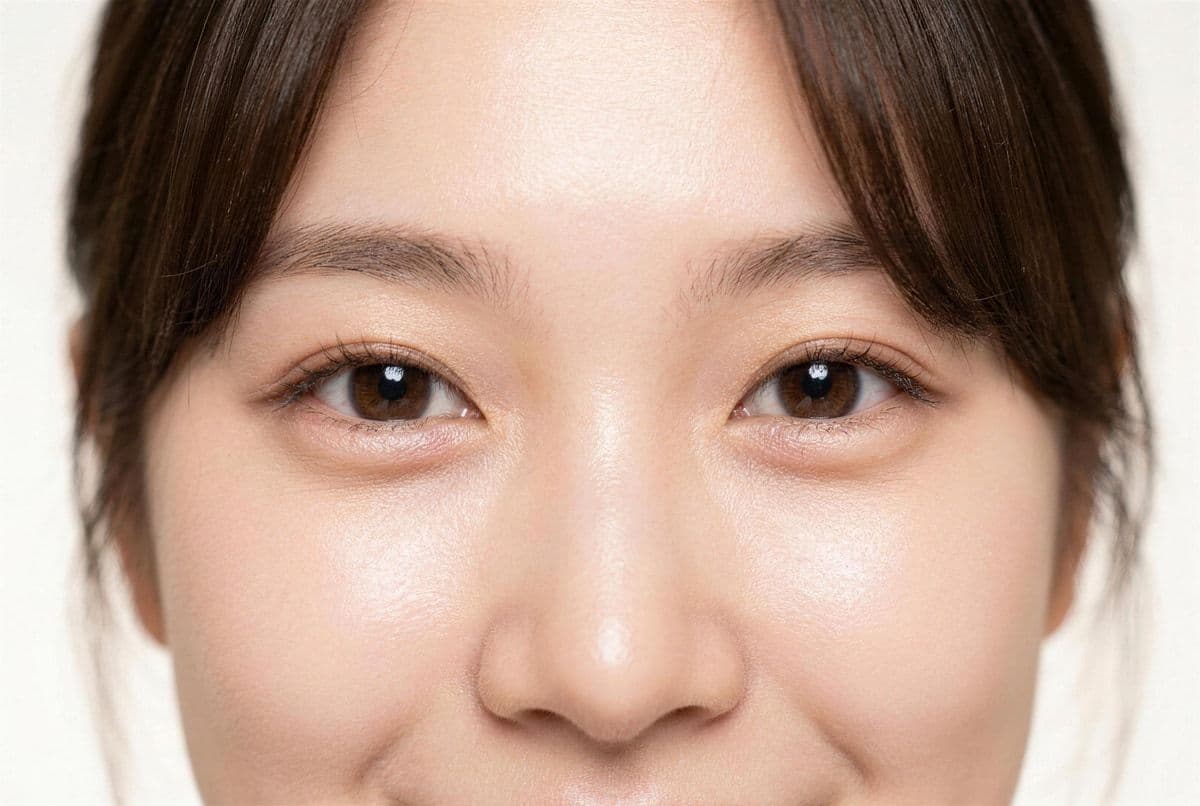
Keep the upper lid simple with a light shimmering white, or blend mauve, dusty pink and cool-toned brown softly if more colour is wanted. Then take the pale brown from the same palette and trace the underside of the tear bag and the natural crease above the eye so both read as raised. An angled brush is the difference between a clean line and a smudge, because the shape is small and unforgiving.
The droop comes from placement, not pigment. On the lower lash line, set the shadow slightly lower than where the natural line falls; that small displacement tilts the whole eye into a sad shape. Build the sparkle in stages: a pale base shade, a lighter shimmer over it, then fine glitter or a glitter liner in the centre and inner corner. Keep the glitter sparing, both because chunky sparkle breaks the illusion and because loose particles this close to the eye are an irritation risk.
Step 4: The Crying Blush
Jirai kei blush sits high on the cheek and close in to the under-eye area, near enough to merge with the lower-lash makeup instead of sitting below it as a separate patch. That contact between blush and eye is what sells the freshly-cried reading, and it is the most misunderstood part of the look.
Use a cream blush in pink or berry first, then layer a powder blush over the top so the colour holds depth and does not fade across an evening. Keep the blending soft and round rather than angled. A light touch of highlighter near the cheeks or the bridge of the nose stops the flush from going flat.
Routines differ on how far out to take it. A softer, ryosangata-leaning approach sweeps a cool pale pink in a circular motion toward the outer face and follows it with a pale brown eyeshadow used as a faint contour at the edges. The higher, more inward placement is the one producing the emotional version, and raising the intensity is what separates it from a merely rosy cheek.
Step 5: Gradient Lips
Jirai kei lips are a soft gradient, not a defined shape: a pink or berry tint placed only in the centre of the lip, blurred outward with a fingertip so the edge fades instead of ending, then finished with gloss. A tinted balm layered underneath keeps the texture comfortable.
Choose a gloss that is clear or lightly tinted and not sticky, so it does not collect along the inner lip. For a sharper outline without a liner, run a little concealer along the outside edges of the lip and over the cupid’s bow with a small brush. Darker and deeper red lips belong squarely to jirai kei, where the sweeter neighbouring styles stay pale, and the gradient stays soft either way.
Jirai Kei Makeup Step Order at a Glance
The full jirai kei makeup sequence is base, brows and liner, tear bags, blush, then lips. Each step has one product category doing the work and one placement that matters.
| Step | Reach for | Where it goes |
|---|---|---|
| 1. Base | Sheer foundation or cushion, blurring powder | Centre of the face outward, powder over the top |
| 2. Brows and liner | Brow palette, fine-tip liquid liner | Brows light and high, liner dropping at the outer corner |
| 3. Tear bags | Pale brown shadow, angled brush, fine glitter | Under the tear bag and above the crease, glitter centred |
| 4. Blush | Cream blush, powder blush over it | High on the cheek, close enough to meet the under-eye |
| 5. Lips | Pink or berry tint, clear gloss | Centre of the lip, blended outward with a fingertip |
How Jirai Kei Makeup Differs from Ryosangata, Igari and Yami Kawaii
Jirai kei makeup differs from its neighbours mainly in palette depth and eye drama, not in method. All four looks share a doll-like base, and ryosangata even shares the eye-enlarging lenses and defined tear bags, running instead on almost exclusively natural colour: baby pink, brown and pastel grey, chasing whatever is currently cute.
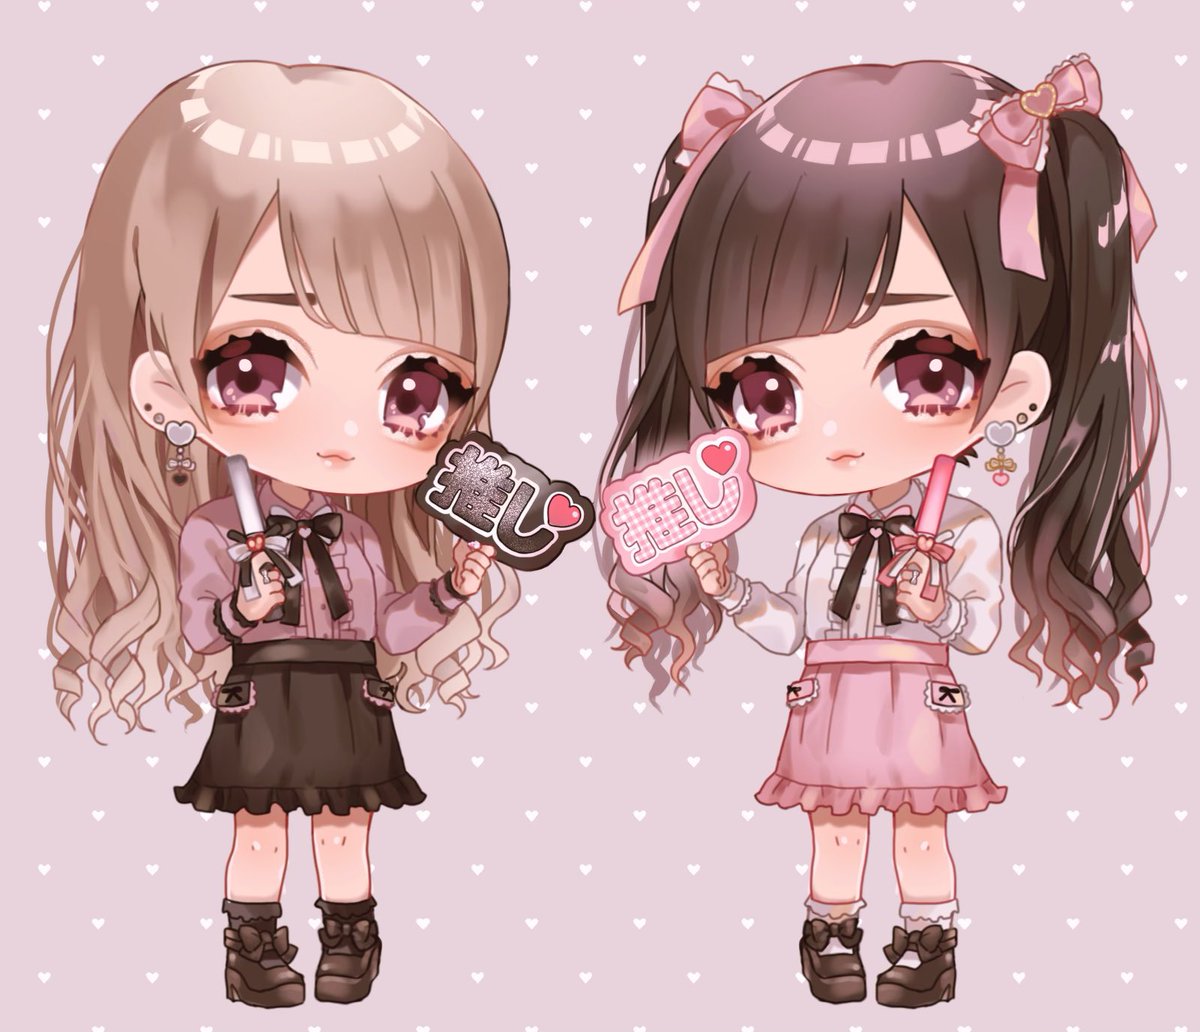
Igari makeup shares the flushed-cheek idea and stops there, keeping the eyes minimal and the impression innocent. Jirai kei takes that same blush placement and pushes it harder, adding the teary under-eye and downturned liner that igari leaves out. Yami kawaii sits differently again, blending pastel kawaii sweetness with themes of vulnerability, where jirai kei puts its darkness into the mood of the face itself.
Where Jirai Kei Makeup Beginners Go Wrong
The most common jirai kei makeup mistakes are all overcorrections, and every one of them comes from adding weight where the style wants softness:
- Building a heavy or flatly matte base, when the style needs pale, smooth and blurred
- Reaching for bright or warm eye colour instead of mauve, dusty pink, plum and brown
- Using coarse glitter, which reads as festival sparkle rather than tears
- Applying an opaque lip, when sheer balms and glosses are what the blurred finish needs
- Starting on dry skin, which makes the pale base cling and patch
- Setting with a matte spray, when a dewy one preserves the soft-focus surface
- Loading the mascara, or bearing down on the lower tear line
Starting minimal and building intensity across a few attempts works better than aiming for the full effect immediately, and the tear bag is the one shape worth practising on its own.
FAQs
Is jirai kei makeup hard for a beginner?
Jirai kei makeup is more approachable than it appears. What reads as advanced is the mood it carries rather than the handiwork, since a sheer base, a shaded tear line, placed glitter and a blurred lip are each a single move that improves with repetition. Working with two or three colours at first, then raising the intensity later, is the usual way in.
Does jirai kei makeup work on darker skin?
Yes, by adjusting the palette rather than the method. A natural-finish foundation holds up better than a very pale one, and the shades carrying the look shift deeper and warmer: mauve taken darker, warm plum, berry, and a brown with real depth in it. Fine glitter and a softly faded gradient still work without draining the complexion.
Can you wear jirai kei makeup every day?
Jirai kei makeup works daily once the loudest elements come down. Use less glitter beneath the eye, move to a lighter shadow palette, and finish on a plain gloss, and the character of the look survives at roughly half the intensity. A muted version is what most regular wearers actually put on.
How is jirai kei makeup different from igari makeup?
Igari makeup aims at natural innocence, built on flushed cheeks with very little happening on the eyes. Jirai kei borrows that flush, intensifies it, and adds the teary under-eye and downturned liner, producing something moodier and more expressive than igari sets out to be.
Do you need the makeup to pull off a jirai kei coordinate?
The face is where the style is decided. Step-by-step guides for the look put nearly all of their instruction into makeup, and the clearest line between jirai kei and its gentler neighbours is drawn through palette depth and eye drama rather than through the clothes, which overlap heavily.
If the black and dusty pink register behind this look appeals beyond the makeup, Kamicrew’s gothic Japanese streetwear lives in the same palette, as graphic tees and hoodies rather than as full coordinates.
Kamicrew Best Seller

Dont Touch Me Yokai Ukiyo-E Japanese T-Shirt
$25.49+
$29.99
(15% off)


Summer Vibes Salty Kawaii Japanese Hoodie
$44.99+
$49.99
(10% off)


Japanese Pin Horror 80s Retro Aesthetics T-Shirt
$25.49+
$29.99
(15% off)


El Gran Maja Japanese Kaiju T-Shirt
$25.49+
$29.99
(15% off)


Who Wants The Perfect Body Japan Capybara Kawaii Japanese Unisex Shirt
$25.49+
$29.99
(15% off)


Monster 8 Mask Vintage Animal Hoodie
$44.99+
$49.99
(10% off)


I Hate People Japanese Opossum Vintage Animal Hoodie
$44.99+
$49.99
(10% off)


I Got That Dog In Me Small Turtle Vintage Animal T-Shirt
$25.49+
$29.99
(15% off)

The Creation Of Cat Ukiyo-E Japanese T-Shirt
$25.49+
$29.99
(15% off)